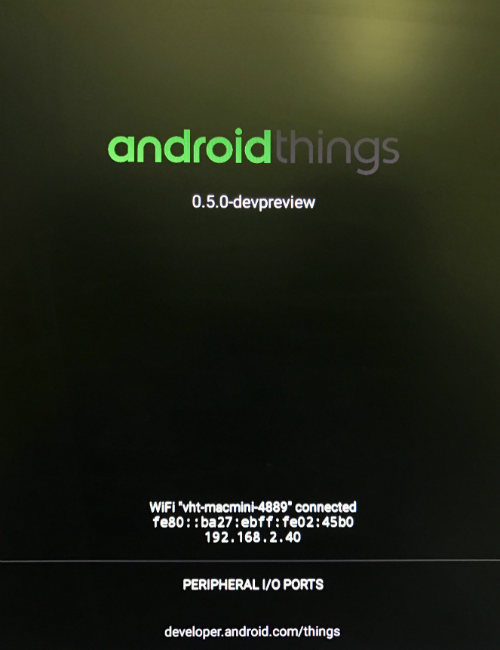
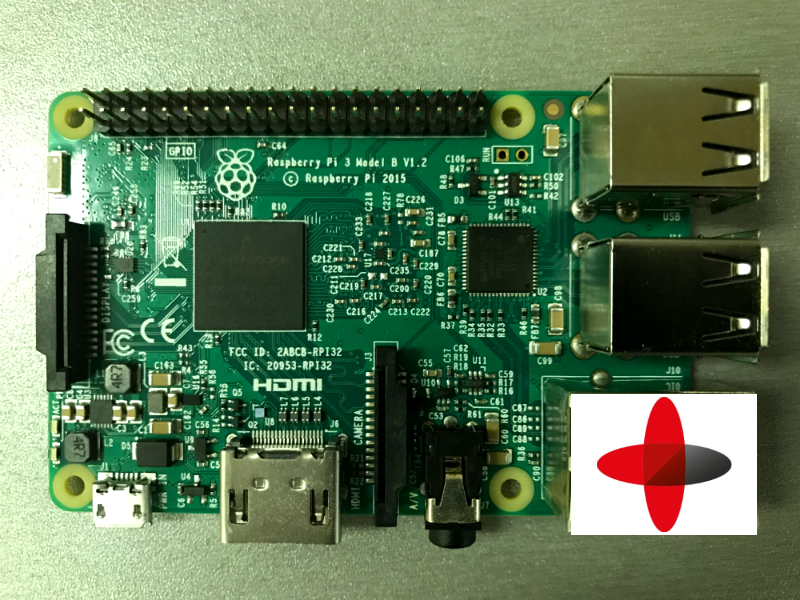
Getting started with Raspberry Pi and this OS is quite simple. All you need is Raspberry itself and a SD card. A screen, keyboards, and other things are optional. First, you should burn Android Things on the SD card. After that, Raspberry Pi will launch every time when you turn it on.
The next step will be connecting this device to the network. For the first connection, you must use Ethernet. Then, after you get IP of the device, you can connect Raspberry to the system and use Android Studio to run builds on this device as usual. Alternatively, you can set up a Wi-Fi connection, so you wouldn’t need to connect Raspberry via Ethernet every time.
The process of creating an application for Android Things is pretty straightforward and is similar to the creation of a usual application for Android phone. The only difference is that when launching the application we should choose to support Android Things platform from one of the available options. If you miss those on start, don’t worry, you can configure it via Gradle later.
To get the feel of Android Things and Raspberry Pi3, we decided to create an application that can transfer some data from an Android phone to Raspberry and back.